
Build Cutting-Edge NLP Apps for iOS with Core ML 3 and LangChain
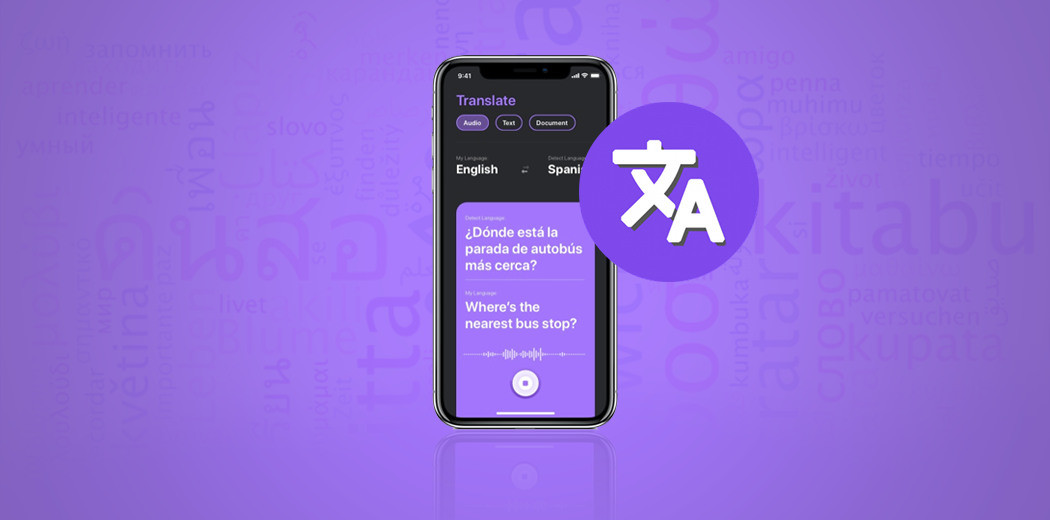
Natural language processing (NLP) has rapidly advanced in recent years, enabling developers to build increasingly sophisticated apps that can understand, analyze, and generate human language. From virtual assistants and chatbots to content moderation and semantic search, NLP powers many of the intelligent experiences we‘ve come to rely on.
As an iOS developer, you have access to powerful tools and frameworks for building NLP into your apps. Chief among them is Apple‘s Core ML 3 framework, which allows you to integrate pre-trained or custom machine learning models into your app for fast, efficient on-device processing.
In this article, we‘ll explore how to leverage Core ML 3 and the new LangChain Swift library to build cutting-edge NLP apps for iOS. Whether you‘re new to NLP or an experienced practitioner, you‘ll come away with a solid foundation and practical skills for applying language AI in your iOS projects. Let‘s dive in!
A Quick Primer on Core ML 3 and NLP
Core ML is Apple‘s framework for integrating machine learning models into iOS, macOS, watchOS, and tvOS apps. It provides a unified API for loading and running models, abstracting away much of the underlying complexity. Core ML supports a variety of popular model formats, including neural networks, tree ensembles, support vector machines, and generalized linear models.
With the release of Core ML 3 in 2019, Apple introduced out-of-the-box support for advanced NLP tasks through the Natural Language framework. This framework provides high-level APIs for common NLP tasks like language identification, tokenization, part-of-speech tagging, named entity recognition, and sentiment analysis. Under the hood, it leverages state-of-the-art techniques like word embeddings and sequence models.
Using the Natural Language framework, you can quickly add language understanding features to your app with just a few lines of code. For example, to determine the language of a given string of text:
let text = "Bonjour le monde!"
let language = NLLanguageRecognizer.dominantLanguage(for: text)
print(language) // fr
Or to tokenize a sentence into individual words:
let sentence = "The quick brown fox jumped over the lazy dog."
let tokenizer = NLTokenizer(unit: .word)
tokenizer.string = sentence
print(tokenizer.tokens) // ["The", "quick", "brown", "fox", "jumped", "over", "the", "lazy", "dog."]
The Natural Language framework also provides powerful features like word embeddings, which map words to high-dimensional vector representations that capture their semantic meaning. You can use these embeddings to find similar or related words:
let embedding = NLEmbedding.wordEmbedding(for: .english)
let similarWords = embedding?.neighbors(for: "king", maximumCount: 5)
print(similarWords) // ["queen", "prince", "royal", "monarch", "throne"]
While the built-in NLP capabilities of Core ML 3 are extensive, you may find that you need more flexibility and control over your models and processing pipeline. That‘s where the LangChain Swift library comes in.
Introducing LangChain Swift for NLP
LangChain is an open-source library that helps developers build applications with large language models (LLMs). Originally created for Python, it provides a unified interface for working with different LLMs, prompt templates, vector stores, and more.
Recently, a Swift port of LangChain has been released, bringing its powerful abstractions and utilities to iOS development. With LangChain Swift, you can easily integrate state-of-the-art language models like GPT-3 into your apps, without having to worry about the low-level details of API calls and data formatting.
One of the key benefits of using LangChain is that it provides a consistent, high-level API for performing various NLP tasks across different models and providers. This means you can switch between models or experiment with new approaches without having to completely rewrite your code.
LangChain also provides a number of useful utilities and abstractions for common NLP workflows, such as:
- Prompt templates for constructing input prompts
- Chain and agent classes for combining and sequencing prompts
- Document loaders for ingesting and processing text data
- Vector stores and embeddings for semantic search and retrieval
- Callbacks and tracers for logging and debugging
To use LangChain Swift in your iOS app, you first need to add the package dependency to your Xcode project. You can do this by selecting File > Add Packages and entering the URL of the LangChain Swift repository:
https://github.com/andrewmcgr/langchain-swiftOnce you‘ve added the package, you can import it into your Swift code and start using its APIs. For example, to load a pre-trained OpenAI GPT-3 model:
import LangChain

let model = OpenAI(apiKey: "YOUR_API_KEY")
You can then use the model instance to generate text completions, embeddings, and more. LangChain provides a simple, consistent interface for these operations across different models and providers.
Building an Example NLP App with LangChain Swift
To illustrate the power and flexibility of LangChain Swift, let‘s walk through the process of building an example NLP app for iOS. Our app will allow users to input a piece of text and perform various language understanding tasks on it, such as:
- Language identification
- Named entity recognition
- Text summarization
- Question answering
- Sentiment analysis
We‘ll use a combination of Core ML‘s built-in NLP capabilities and custom models served through LangChain to implement these features. Along the way, we‘ll highlight some of the key concepts and best practices for NLP app development.
Step 1: Set up the Project
First, create a new Xcode project for an iOS app. We‘ll use SwiftUI for our user interface, but you can also use UIKit if you prefer.
Next, add the LangChain Swift package dependency to your project as described above. We‘ll also need to add a few additional dependencies for our app:
- SwiftCSV for parsing CSV data
- SwiftyJSON for handling JSON responses from the language model API
Step 2: Design the User Interface
For our app‘s user interface, we‘ll keep things simple with a single text input field and a set of buttons for triggering the different NLP tasks. We‘ll display the results of each task in a scrollable text view below.
Here‘s a quick mockup of the UI:
[Insert UI mockup image]And here‘s the corresponding SwiftUI code:
struct ContentView: View {
    @State private var inputText = ""
    @State private var outputText = ""

    var body: some View {
        VStack {
            TextField("Enter text", text: $inputText)
                .textFieldStyle(RoundedBorderTextFieldStyle())
                .padding()

            Button("Identify Language") {
                identifyLanguage()
            }

            Button("Recognize Entities") {
                recognizeEntities()
            }

            Button("Summarize") {
                summarizeText()
            }

            Button("Ask Question") {
                askQuestion()
            }

            Button("Analyze Sentiment") {
                analyzeSentiment()
            }

            ScrollView {
                Text(outputText)
                    .padding()
            }
        }
    }

    func identifyLanguage() {
        // TODO: Implement language identification
    }

    func recognizeEntities() {
        // TODO: Implement named entity recognition
    }

    func summarizeText() {
        // TODO: Implement text summarization
    }

    func askQuestion() {
        // TODO: Implement question answering
    }

    func analyzeSentiment() {
        // TODO: Implement sentiment analysis
    }
}
Step 3: Implement Language Identification
For our first feature, we‘ll use Core ML‘s built-in language identification capabilities to determine the dominant language of the input text. We can do this with just a few lines of code:
func identifyLanguage() {
    let language = NLLanguageRecognizer.dominantLanguage(for: inputText)
    outputText = "Detected language: \(language?.rawValue ?? "Unknown")"
}
The NLLanguageRecognizer class provides a simple, high-level API for language identification. We can pass it a string of text, and it will return an NLLanguage enum value representing the detected language.
Step 4: Implement Named Entity Recognition
Next up is named entity recognition (NER), the task of identifying and categorizing named entities like people, organizations, and locations in text. Once again, we can leverage Core ML‘s Natural Language framework to do this:
func recognizeEntities() {
    let tagger = NLTagger(tagSchemes: [.nameType])
    tagger.string = inputText

    var entities: [String: [String]] = [:]

    tagger.enumerateTags(in: inputText.startIndex..<inputText.endIndex, unit: .word, scheme: .nameType) { tag, tokenRange, _ in
        if let tag = tag {
            let name = String(inputText[tokenRange])
            entities[tag.rawValue, default: []].append(name)
        }
    }

    var outputString = ""
    for (entityType, entityNames) in entities {
        outputString += "\(entityType):\n"
        outputString += entityNames.joined(separator: ", ")
        outputString += "\n\n"
    }

    outputText = outputString
}
Here, we create an instance of NLTagger with the .nameType tag scheme, which corresponds to NER. We then enumerate over the tags in the input text, extracting the recognized entities and grouping them by entity type (e.g. person, organization, location).
Finally, we format the results into a string and display them in the output text view.
Step 5: Implement Text Summarization
For our next feature, we‘ll use a custom language model served through LangChain to generate a summary of the input text. This will allow us to leverage the power of large pre-trained models like GPT-3 to perform more advanced NLP tasks.
First, we need to set up our LangChain model and prompt template:
let openAI = OpenAI(apiKey: "YOUR_API_KEY")

let promptTemplate = PromptTemplate(template: "Please summarize the following text:\n\n{text}\n\nSummary:")
We create an instance of the OpenAI language model, passing in our API key. We also define a prompt template that instructs the model to generate a summary of the input text.
Next, we can use LangChain‘s PromptTemplate and LLMChain classes to construct our summarization pipeline:
func summarizeText() {
    let prompt = promptTemplate.format(["text": inputText])

    let chain = LLMChain(prompt: prompt, llm: openAI)

    chain.run { result in
        switch result {
        case .success(let summary):
            outputText = summary
        case .failure(let error):
            outputText = "Error: \(error.localizedDescription)"
        }
    }
}
We format our prompt template with the input text, then create an LLMChain that combines the prompt with our OpenAI model. Finally, we run the chain asynchronously, displaying the generated summary in the output text view.
Step 6: Implement Question Answering
Building on the text summarization feature, we can also use LangChain to implement a simple question answering system. This will allow users to input a question about the text, and receive a generated answer based on the content.
To do this, we‘ll modify our prompt template to include the input question:
let qaPromptTemplate = PromptTemplate(template: "Please answer the following question based on the given text:\n\n{text}\n\nQuestion: {question}\n\nAnswer:")We can then update our askQuestion() function to prompt the user for a question and generate an answer using the language model:
func askQuestion() {
    let question = inputText
    let text = "TODO: Load input text from file or URL"

    let prompt = qaPromptTemplate.format(["text": text, "question": question])

    let chain = LLMChain(prompt: prompt, llm: openAI)

    chain.run { result in
        switch result {
        case .success(let answer):
            outputText = answer
        case .failure(let error):
            outputText = "Error: \(error.localizedDescription)"
        }
    }
}
For the sake of simplicity, we‘ll assume that the input text is loaded from a file or URL (left as an exercise for the reader). We then format our prompt template with the text and question, and generate an answer using the language model.
Step 7: Implement Sentiment Analysis
For our final feature, we‘ll perform sentiment analysis on the input text to determine its overall emotional tone. Core ML‘s Natural Language framework provides a built-in sentiment analyzer that we can use for this:
func analyzeSentiment() {
    let tagger = NLTagger(tagSchemes: [.sentimentScore])
    tagger.string = inputText

    let (sentiment, _) = tagger.tag(at: inputText.startIndex, unit: .paragraph, scheme: .sentimentScore)

    let sentimentLabel: String
    if sentiment.rawValue > 0 {
        sentimentLabel = "Positive"
    } else if sentiment.rawValue < 0 {
        sentimentLabel = "Negative"
    } else {
        sentimentLabel = "Neutral"
    }

    outputText = "Sentiment: \(sentimentLabel) (\(sentiment.rawValue))"
}
Similar to the NER example, we create an instance of NLTagger with the .sentimentScore tag scheme. We then tag the input text at the paragraph level to get an overall sentiment score between -1.0 and 1.0.
Finally, we map the sentiment score to a human-readable label (positive, negative, or neutral) and display the results in the output text view.
Next Steps and Further Reading
Congratulations, you now have a working NLP app for iOS that can perform a variety of language understanding tasks! Of course, this is just a starting point – there are many ways you could extend and improve upon this basic example.
Some ideas to consider:
- Add support for more languages and localized models
- Integrate additional LLMs and NLP providers besides OpenAI
- Fine-tune custom models on your own domain-specific data
- Implement more advanced NLP tasks like text generation, machine translation, and dialogue
- Optimize performance with on-device processing and caching
To learn more about NLP app development for iOS, check out the following resources:
- Apple‘s official documentation for the Natural Language framework: https://developer.apple.com/documentation/naturallanguage
- LangChain Swift documentation and examples: https://github.com/andrewmcgr/langchain-swift
- WWDC sessions on Core ML and NLP: https://developer.apple.com/videos/
- NLP tutorials and courses on websites like Analytics Vidhya, Coursera, and fast.ai
With the right tools and techniques, the possibilities for building intelligent, language-powered apps are endless. So go forth and create something amazing!


