The Complete Guide to Setting Up Python for Data Science and Machine Learning
Introduction
Python has become the dominant programming language for data science and machine learning. According to the 2021 Kaggle Data Science Survey, 87% of data scientists and machine learning engineers use Python as their primary language. This represents a steady increase from previous years, cementing Python‘s position as the go-to language for working with data.
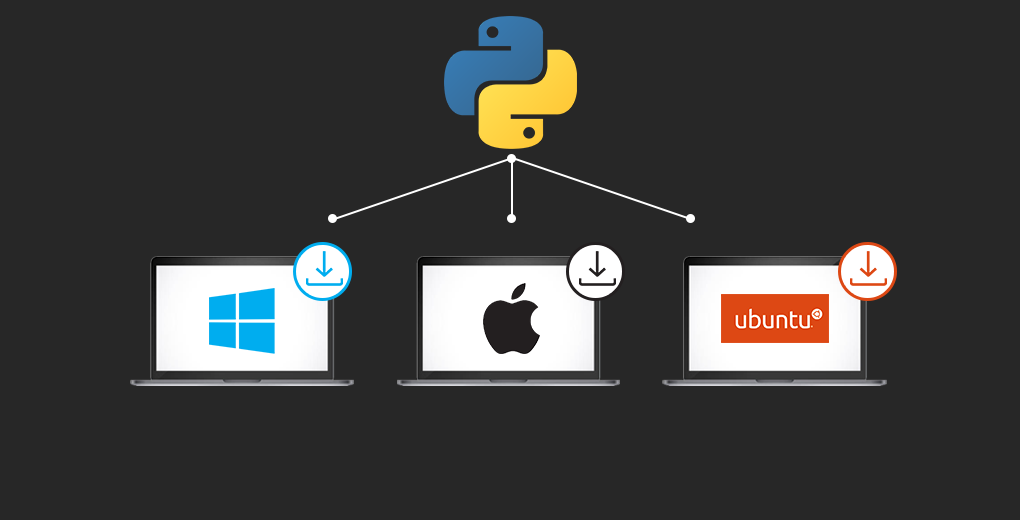
So what makes Python so popular for data science and machine learning? In this article, we‘ll explore the key reasons behind Python‘s rise. We‘ll then walk through step-by-step how to set up a complete Python data science environment using the powerful Anaconda distribution on Windows, Linux, and macOS. By the end, you‘ll be ready to start building your own data science and machine learning projects in Python!
Why Python for Data Science and Machine Learning?
Python‘s ecosystem of libraries and tools for data science and machine learning is unmatched. Here are some of the key advantages:
-
Extensive libraries: Python has a vast collection of open source libraries specifically designed for data science and machine learning tasks. These include:
- NumPy for efficient numerical computing
- Pandas for data manipulation and analysis
- Matplotlib and Seaborn for data visualization
- scikit-learn for machine learning algorithms
- TensorFlow and PyTorch for deep learning
- And many more!
-
Beginner-friendly syntax: Python has a clean and expressive syntax that is easy for beginners to learn, yet powerful enough for advanced users. This lowers the barrier to entry for data science and machine learning.
-
Interoperability: Python plays nicely with other languages and tools commonly used for data science, such as SQL, R, and Spark. You can easily integrate Python into existing data pipelines and workflows.
-
Strong community: Python has a large and active community of data science and machine learning practitioners. This means ample resources for learning, a wide selection of open source packages, and plenty of knowledgeable people to ask for help.
The data speaks for itself. The 2021 Stack Overflow Developer Survey found that 67% of professional developers use Python, making it the 3rd most popular language overall – and the #1 language for data science and machine learning.
What is Anaconda and Why Use It?
While you can install Python directly from the official website, using the Anaconda distribution is highly recommended for data science and machine learning. Anaconda bundles Python with over 1500 data science packages, along with tools like Jupyter Notebook for interactive development.
Benefits of using Anaconda:
-
Simplified package management: Anaconda includes most of the packages you‘ll need for data science, prebuilt and ready to use. This avoids the headache of manually installing and managing packages and dependencies.
-
Support for virtual environments: Anaconda makes it easy to create isolated environments for different Python projects, so you can use different versions of packages without conflicts.
-
Consistent across platforms: Anaconda works similarly on Windows, Linux, and macOS, making it easy to collaborate and share code across different platforms.
According to Anaconda, the distribution is used by over 25 million users worldwide, including leading companies like Google, Microsoft, and NASA. It‘s the industry standard for Python data science.
Installing Anaconda on Windows
Let‘s walk through the steps to get Anaconda installed on your Windows machine:
Step 1: Download the Anaconda installer from the official website. Choose the 64-bit graphical installer for the latest Python 3 version.

Step 2: Run the installer by double-clicking the downloaded file. If you see a security warning, click "Run".
Step 3: Click through the installer wizard, making the following selections:
- Accept the license agreement
- Install for "Just Me"
- Use the default destination folder
- Check the box to add Anaconda to your PATH environment variable
- Check the box to register Anaconda as your default Python
The installation may take a few minutes to complete.
Step 4: Once the installation is finished, open the Anaconda Navigator program from the Start menu.

From here, you can launch Jupyter Notebook and start coding in Python! We‘ll go into more details on using Jupyter Notebook in a later section.
Installing Anaconda on Linux
The process for Linux is very similar, with a few differences:
Step 1: Download the 64-bit command line installer from the Anaconda website.
Step 2: Open a terminal, navigate to the directory containing the downloaded file, and run:
bash Anaconda3-2021.11-Linux-x86_64.shStep 3: Follow the prompts to complete the installation, accepting the license and choosing an install location.
Step 4: To start using Anaconda, you first need to activate the installation:
source ~/anaconda3/bin/activateYou can then launch Jupyter Notebook by running:
jupyter notebookInstalling Anaconda on macOS
The macOS installation shares the same steps as Linux:
Step 1: Grab the 64-bit command line installer from the Anaconda website.
Step 2: In a terminal, run the installer:
bash Anaconda3-2021.11-MacOSX-x86_64.shStep 3: Accept the prompts to complete the installation.
Step 4: Activate the Anaconda installation:
source ~/opt/anaconda3/bin/activate Then launch Jupyter Notebook:
jupyter notebook Getting Started with Jupyter Notebook
Jupyter Notebook is a powerful tool installed with Anaconda that allows you to create interactive code documents. It‘s a great way to explore data, test out machine learning models, and share your work.
To start a new notebook in Jupyter:
-
Launch Jupyter Notebook from the Anaconda Navigator (or from the command line with
jupyter notebook) -
In the Jupyter file browser, navigate to the directory where you want to create the notebook
-
Click the "New" button and select "Python 3" from the dropdown

This will open a new untitled notebook:

Jupyter notebooks are made up of cells, which can contain code, Markdown text, images, and more. To run a code cell, simply click into the cell and press SHIFT+ENTER or click the "Run" button in the toolbar.
Let‘s test that the key data science packages are installed. Create a new code cell and enter:
import numpy as np
import pandas as pd
import matplotlib.pyplot as plt
import sklearn
If the cell runs without any errors, then Anaconda and Jupyter Notebook are working perfectly!
For a more in-depth introduction to Jupyter Notebook, I recommend the official tutorial. Jupyter Notebook also integrates nicely with data science and machine learning platforms like Kaggle and Google Colab.
Tips for Learning Data Science and Machine Learning with Python
Now that you have your Python data science environment set up, you‘re ready to start learning and building projects! Here are some tips to help guide your learning journey:
-
Start with the fundamentals: Focus on learning the basics of Python, Numpy, Pandas, and Matplotlib first. These are the building blocks for everything else in data science and machine learning.
-
Practice on real-world datasets: The best way to learn data science is by working with actual data. Websites like Kaggle and the UCI Machine Learning Repository have thousands of datasets to practice on.
-
Follow along with tutorials and courses: There are tons of great free resources for learning data science and machine learning with Python, including:
-
Join a community: Surrounding yourself with other people learning and working in data science is a great way to stay motivated and get help when you‘re stuck. Check out communities like Kaggle, r/MachineLearning on Reddit, and the Fast.ai forums.
-
Never stop learning: Data science and machine learning are rapidly evolving fields. Make a commitment to continuous learning to stay up-to-date with the latest techniques and best practices. Some great ways to do this are through online courses, reading research papers, and attending conferences or meetups.
As an AI and machine learning expert, I‘m continually amazed by how powerful Python is for building intelligent systems and deriving insights from data. The key is to start with a strong foundation and build up your skills over time through practice and projects.
Remember, even the most accomplished data scientists and machine learning engineers started as beginners. With the right tools and resources – and most importantly, dedication – you can master these skills too!
Conclusion
To recap, Python has become the leading language for data science and machine learning thanks to its rich ecosystem of libraries, beginner-friendly syntax, and strong community support. The Anaconda distribution makes it easy to get a complete Python data science setup no matter your operating system.
By following the steps in this guide, you can install Anaconda and start using Jupyter Notebook to develop data science and machine learning projects in Python. The key tips for success are to focus on the fundamentals, practice on real datasets, learn continuously, and participate in the data science community.
Whether you‘re a complete beginner or an experienced developer looking to learn data science, Python and Anaconda provide everything you need to get started. You‘re now equipped with the tools – the rest is up to you.
The future belongs to those who can harness the power of data. With Python in your toolkit, you‘re well on your way to becoming a data science and machine learning expert. Happy coding!